Table of Contents
💻 Laptop Specs
For this project, I'm using my old Toshiba Satellite S50D-A. While the specs of this laptop leave a lot to be desired when it comes to a home server, there are a few key reasons why I chose to use it:
- I can re-use some hardware that would otherwise become e-waste.
- None of the current workload I have in mind will require more power than the laptop has.
- The 25 Watt TDP of the processor means this always-on device won't draw too much power.
- Upgrading and tinkering with the older hardware is a risk-free way of practicing.
Without further adieu, here are the relavent specs for the laptop server:
- Quad Core AMD A10-5745M with Radeon HD 2.1Ghz
- 8gb DDR3 RAM
- 100Mbps Ethernet
- 500gb WD Blue Solid State Drive
- AMD HD8500M (1G)/AMD Radeon HD 8610G+R5M 2000 (1.7G) Dual Graphics
⬆️ Laptop Upgrades
I bought this laptop in 2014 and by the time it was retired in 2020, it was being used with an external mouse, keyboard, and monitor, and its SSD (an upgrade around 2016) was canabalized into my new desktop. I re-installed the old 5400rpm HDD and installed Linux to make sure the hardware would work in a good enough state, then bought a few small upgrades.
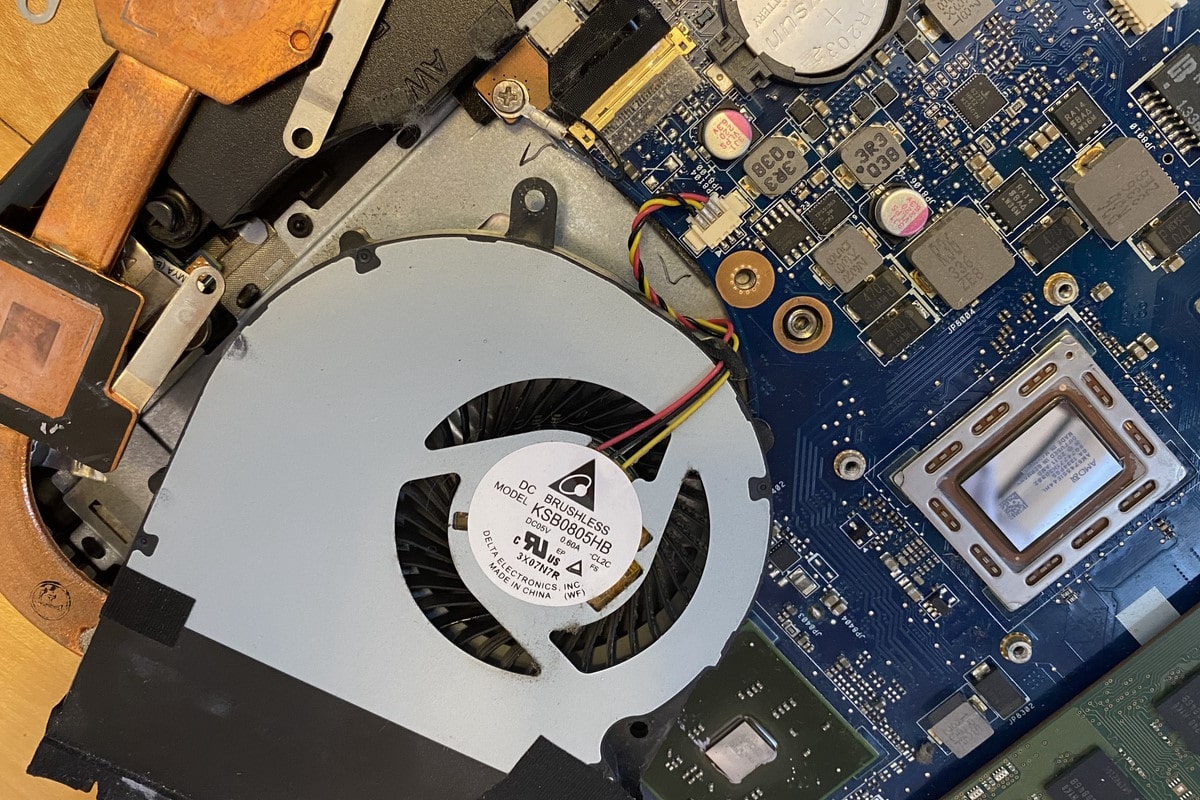
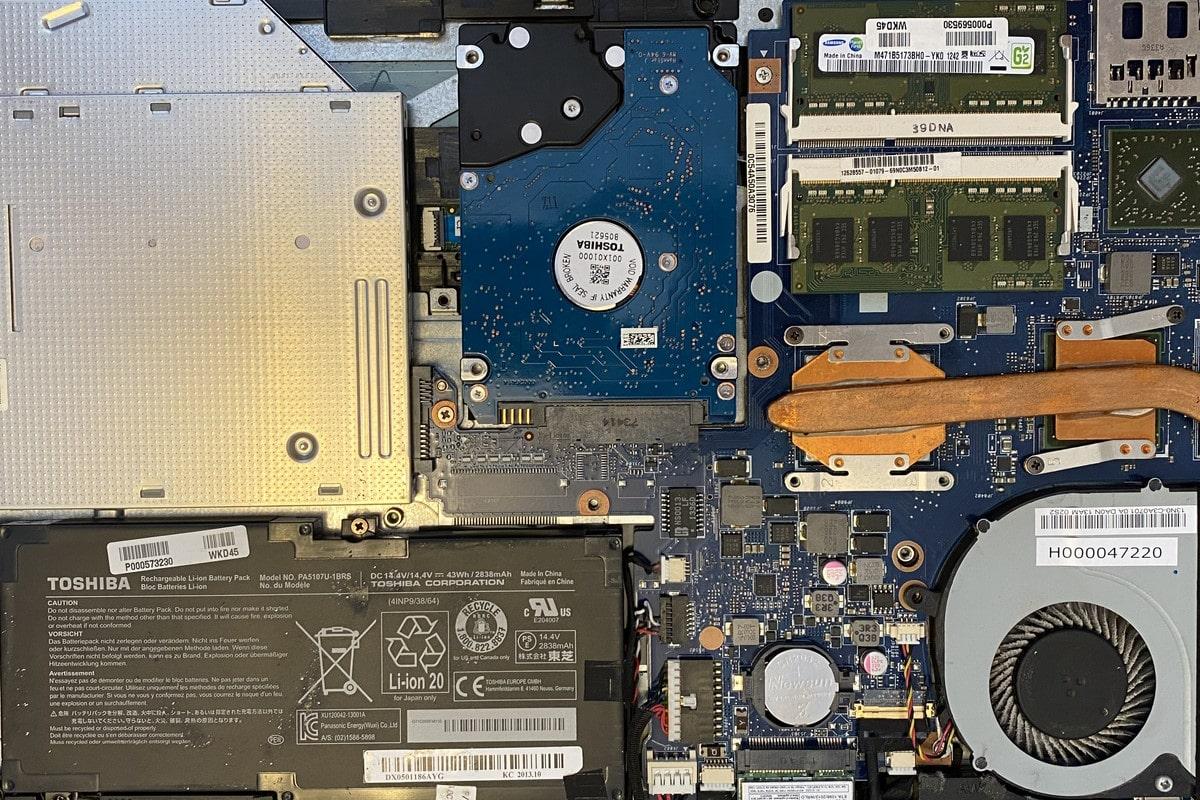
I wanted the laptop to function as a reliable tool for my home network as well as be a resource to learn with, which led to me replacing the spinning rust with a WD Blue SSD and giving it a thorough cleaning. I also cleaned off and replaced the thermal paste from the CPU and graphics card and removed the DVD drive.
 Replaced the thermal paste on the two chipsets.
The bottom panel of this laptop has seen better days, as most of the screw retention clips have been broken off. The tray that holds the SSD in place is also broken, but this laptop will be sitting on a shelf as a server, not moving around. I'm more than happy to be re-using old hardware for this project, especially as a starting point.
Once the upgrades were complete, I did my best to find the last remaining retention clips and screwed the bottom panel back on the laptop. I placed the laptop bottom-up to help dissipate heat, hooked up the ethernet, and plugged it in. It's not pretty, but it works.
🐧 Installing Linux
With the hardware sorted out, it was time to install Linux. I chose the newest LTS version of Ubuntu Desktop (22.04) and followed the guide on the Linux website to create a USB boot drive. With the USB boot drive, installing Linux was as easy as plugging it into the laptop server and following the on-screen instructions, choosing the minimum installation option. Following my dinosaur themed naming convention, I gave it the name veloserver.
Once on the desktop, I navigated to the Wired Connection Settings to set a static IP address for the server. I chose 192.168.1.100 for the server’s IP, 255.255.255.0 for the subnet mask, and 192.168.1.1 for the default gateway. The value for default gateway might be different on different routers, but I have a simple consumer-grade router. I could have setup Linux headless and chose the Linux Server option, but I opted for 22.04 LTS because I was installing on a laptop and being able to use its screen in a worst-case scenario was worth it for me.
With the basic setup complete, it was time to turn this laptop into a server. This is done primarily through installing an SSH server so that I can remotely access the laptop:
# Updates the package list
sudo apt update

# Updates outdated packages
sudo apt upgrade

# Installs the openssh server
sudo apt install openssh-server

# Verifies the ssh server is running
sudo systemctl status ssh
The last - and arguably most important - step in turning this laptop into a server is ensuring that it won't go to sleep while the lid is closed. Still in the terminal, the following command will open a system configuration file. Navigate to where it says #HandleLidSwitch=suspend. Remove the # and change suspend to ignore HandleLidSwitch=ignore. Make sure the changes are saved and nano has been closed:
# Opens system configuration file
sudo nano /etc/systemd/logind.conf

# Navigate to this line:
#HandleLidSwitch=suspend

# Remove the comment # and change to ignore:
HandleLidSwitch=ignore
The last step is to test the configuration. On my desktop, I opened PowerShell and used the ssh command to remote into veloserver:
ssh veloserver@192.168.1.100
After entering the password I made during Linux installation, I had command line access to the laptop. To test the connection, I reboot the machine (sudo reboot), closed the lid, and ssh'd back into the server. Everything works. With setup complete, it's time to have some fun with my new server!
🙋 What's Next?
Now that the laptop is officially a server, it's time to start using it as such. I'll be using Docker on this server on this server to host and manage different services, like Pi-hole for blocking ads on my home network, the open-source media server Jellyfin, WordPress, and more.
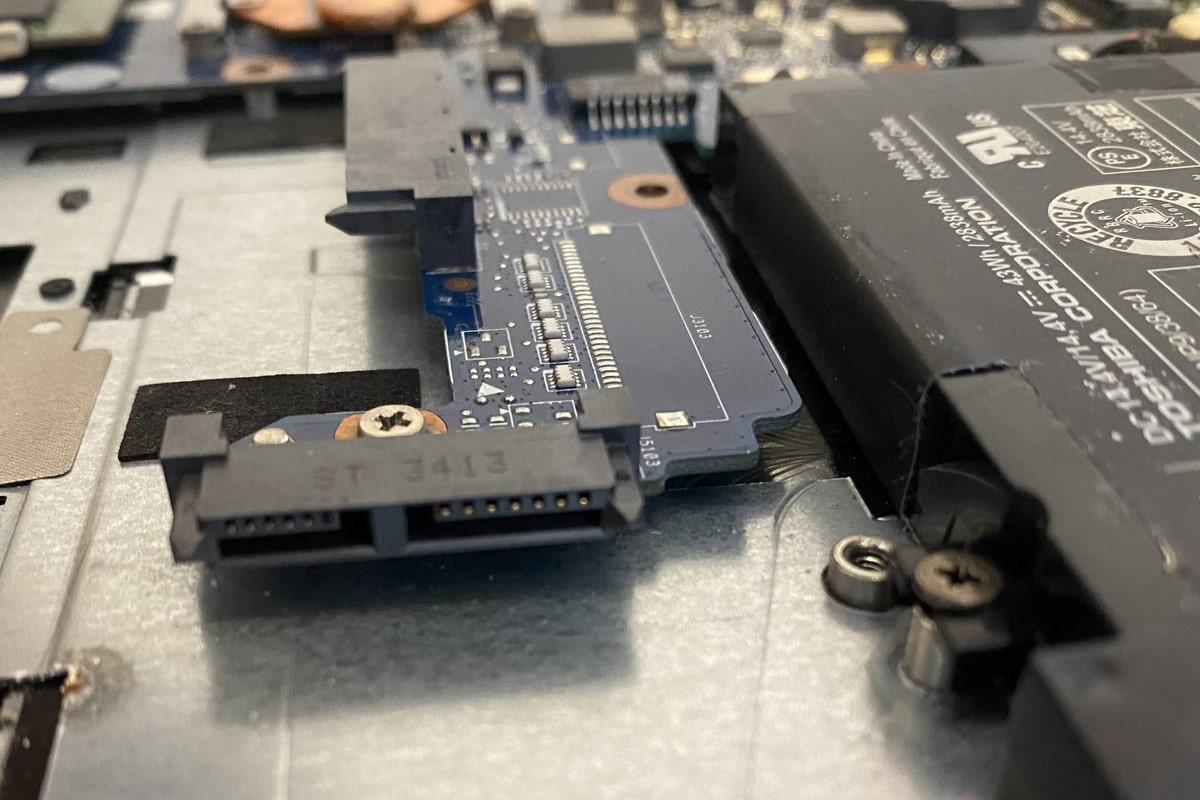
On the hardware side of things, I would love to explore adding a mirrored boot drive to improve the availability and reliabilityof my home server and compliment my backup solution. Although I don't think it's strictly necessary, it feels like a best practice and the added redundancy would improve the reliability of the server. I removed the DVD drive while I was inside the laptop and I believe I can use a Slimline SATA adapter to put a second SSD inside the chasis.


